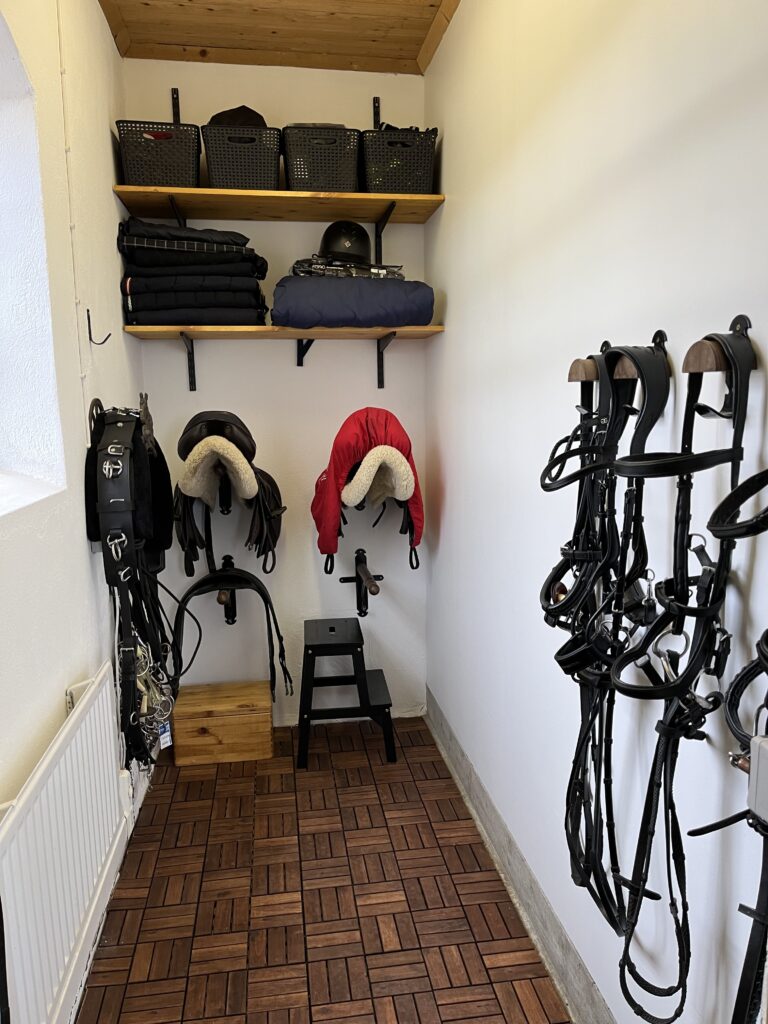
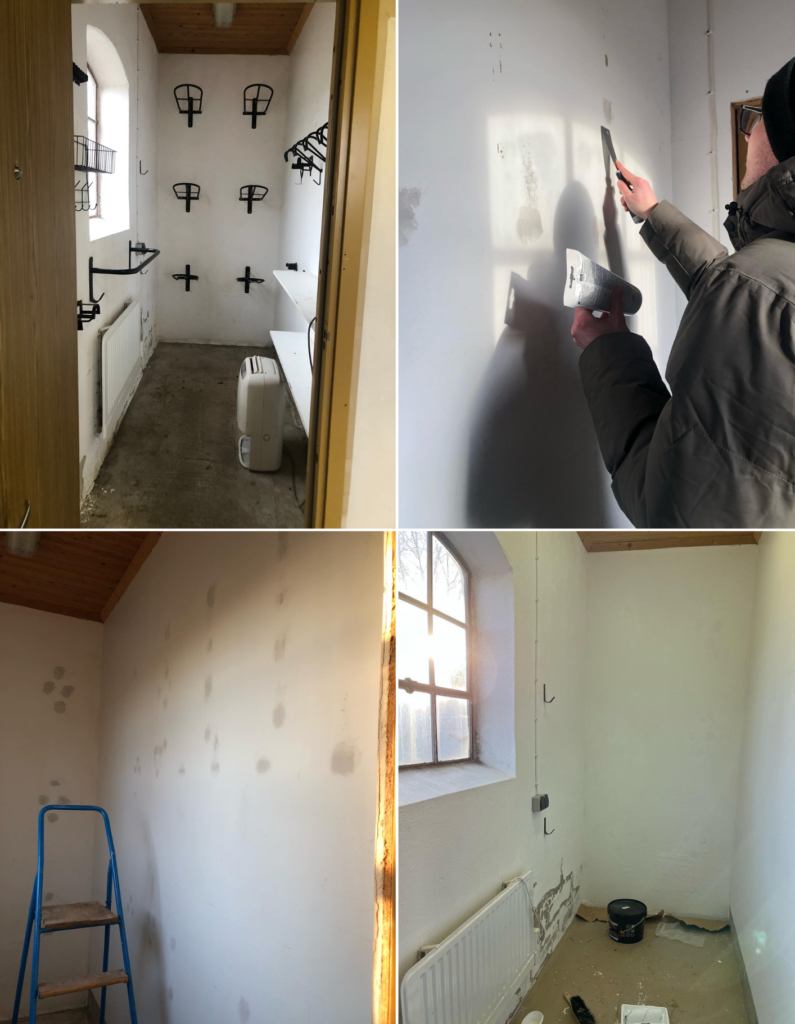
The first thing we did when moving in was to replace the existing door to the tack room with a security door with a proper lock. When we did that we had to remove some of the shelving which decreased the storage and also left one of the walls with holes and scraped off paint. We therefore knew from the beginning that we would at least repaint and I wanted to take the opportunity to update the hardware to give a more rustic feel.
Step 1
I kind of knew the feel of the hangers that I was looking for but I didn’t know if I wanted to buy or make them myself. If I decided I would buy them, should I buy pre-made or find someone locally who made it to order? Even though I would love to purchase locally, convenience and price won out and I decided to go with these and these from Stubs England.
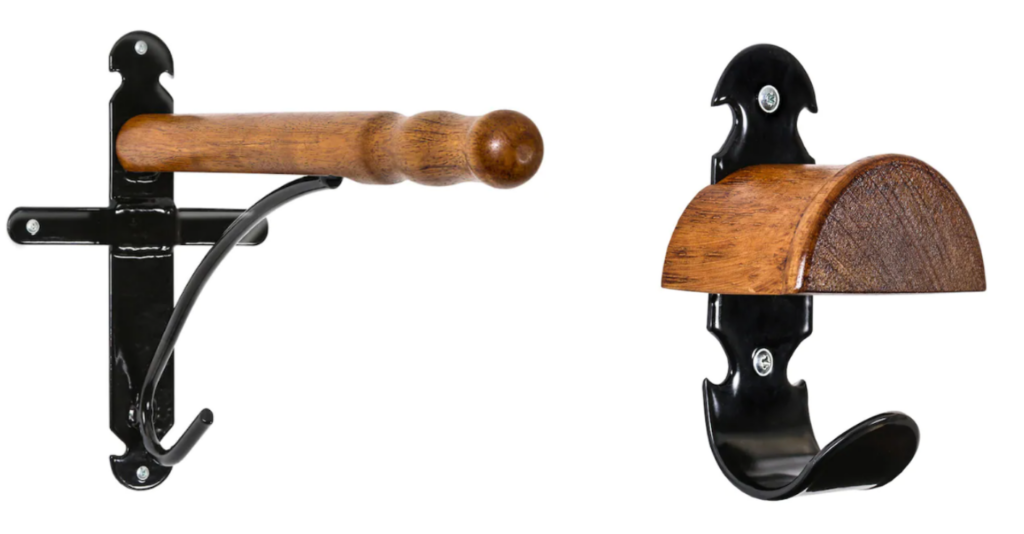
Step 2
Remove all the current interior. I was a bit optimistic about the time it would take to get going with the project and we took everything down in december. At this time I kept all my things in the garage, luckily Penny was rehabbing after her surgery and Madicken still had her injury so I wasn’t riding them.
Step 3
Apply spackle to all the holes in the walls. We had to do several “coats” where we applied the spackle, sanded it down, applied again, sanded it and so on to get it even. We just used a general spackle for both the plaster wall and the stone walls.
Step 4
Paint. On the plaster wall we used normal interior wall paint. For the stone walls we used a white silicate paint. The normal paint needed several coats to cover all the spackle but the silicate paint is a dream to work with and also dries more opaque than when it is dry. On some spots we applied two coats but one was generally enough.
Step 5
Here comes the fun part. Now we had to decide on the interior and where to put everything. The tack room previously had 6 saddle hangers but since I know I will never have more than four saddles I decided that would be enough. Since the ceiling is pretty high I knew I wanted to make use of the space above the hangers in a good way. I therefore bought shelves which were 40 cm deep and 120 cm wide. We then treated them with tar and wood oil to make them a deeper color. We used an elfab system to attach them. This worked out to our advantage since after putting up the shelves we realized that a third shelf would easily fit so we just moved the shelves around.
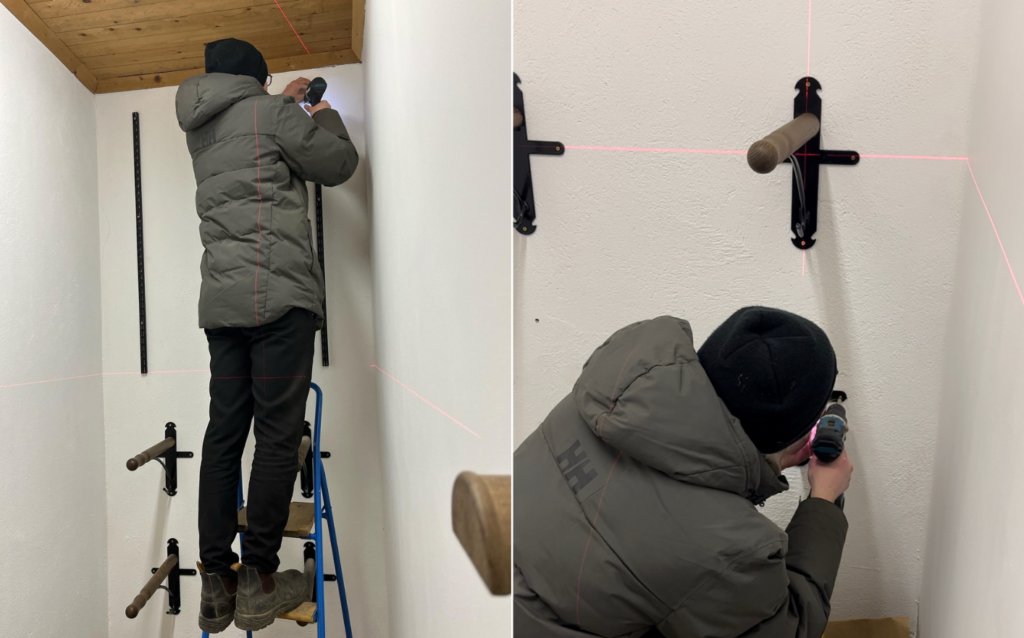
Previously there were shelves first thing to the right but I knew I wanted to put the bridle hangers there to create more space when you first walk in. Previously there were four hangers in two rows, this I also wanted to change to have them all on one row.
The other hangers were all gifts from my mom and grandma that they have found in different stores from when I was little. We always knew I would have my own stable one day.
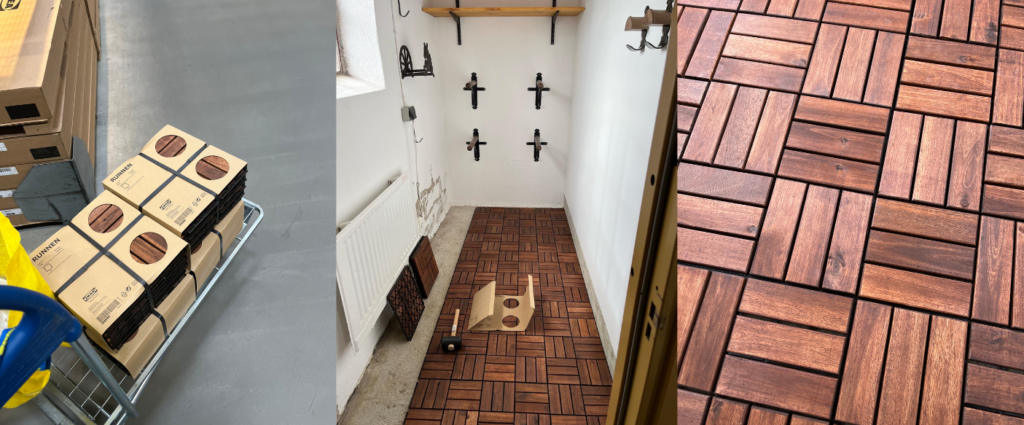
We also decided to put in some flooring that we got on IKEA. Super easy, you just click them together and luckily they perfectly fit the dimensions of the tack room. This probably made the biggest difference to the room and was relatively inexpensive!
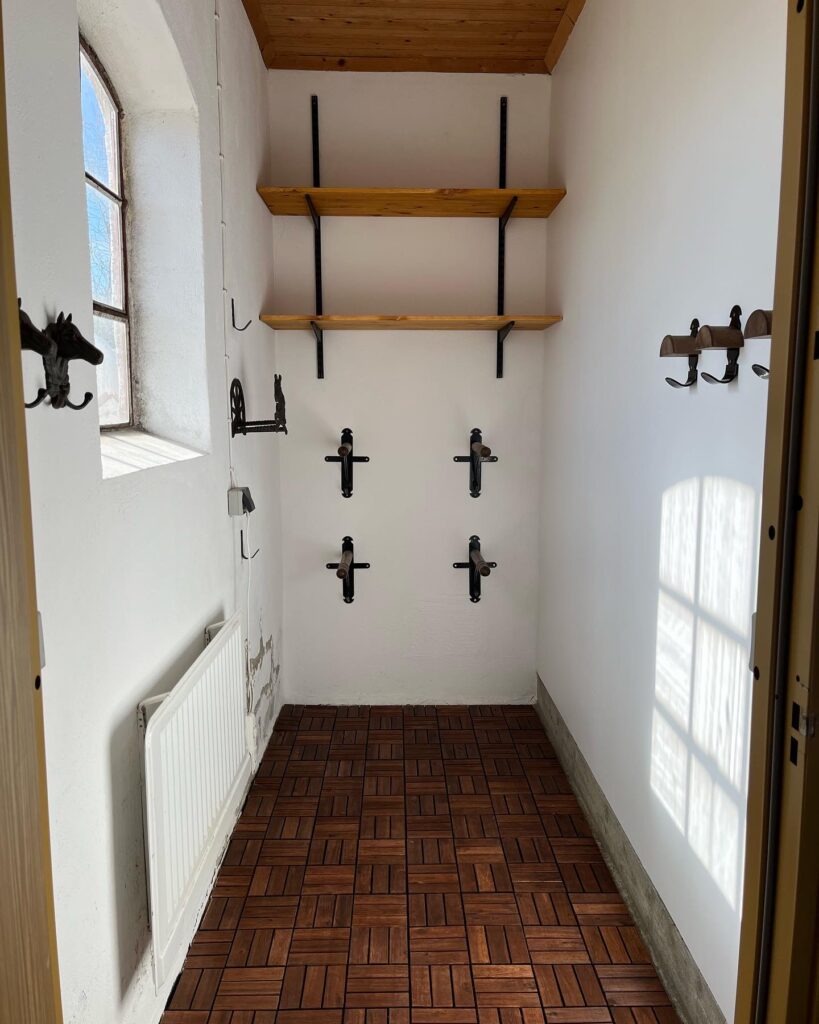
Step 6
Moving in. I had a little chest of drawers that was originally made for a kids room that I use for some storage. I also use baskets on the shelves to keep small items. These were purchased on ÖoB but they don’t seem to make and sell them anymore unfortunately.
Disclaimer, I do have storage elsewhere in the stable for stuff that never seems to have a place and for blankets and other, dirty things.
Overall, I’m super happy with the changes we made both aesthetically and functionally.
